After making a chocolate-hazelnut sourdough biscotti a few years ago, I concluded that sourdough biscotti was just a novelty and not actually a practical way to make biscotti or use sourdough. So I’m not sure what it says about me when I decided to participate in this month’s Sourdough Surprises project, which was – you guessed it – sourdough biscotti, AND decided to use the same recipe as the base. I guess maybe it says I’m drawn to novelty and prone to impracticality. But whatever: I have biscotti.

Part of the challenge of this recipe is converting a 100% hydration starter (that is, 1 part flour to 1 part water by weight) to a 50% hydration starter (2 parts flour to 1 part water by weight). To do this, you need to calculate how much flour and water to feed your 100% starter to change its hydration level, which sounds complicated but you really only need basic math (which I outline at the bottom of this post, after the recipe). The difference between a 100% hydration starter and a 50% hydration starter is actually quite vast: a 100% hydration starter is called a “liquid starter” because it is more like a pourable batter. A 50% hydration starter is called a “stiff starter” because it is just that: stiff. So stiff, in fact, that you will probably have to knead the flour in by hand, just like you would with dough. It’s more suitable for lower hydration doughs (ie, bagels) and is great for something like biscotti, which is basically cookie dough and doesn’t usually have extra liquid added to it.
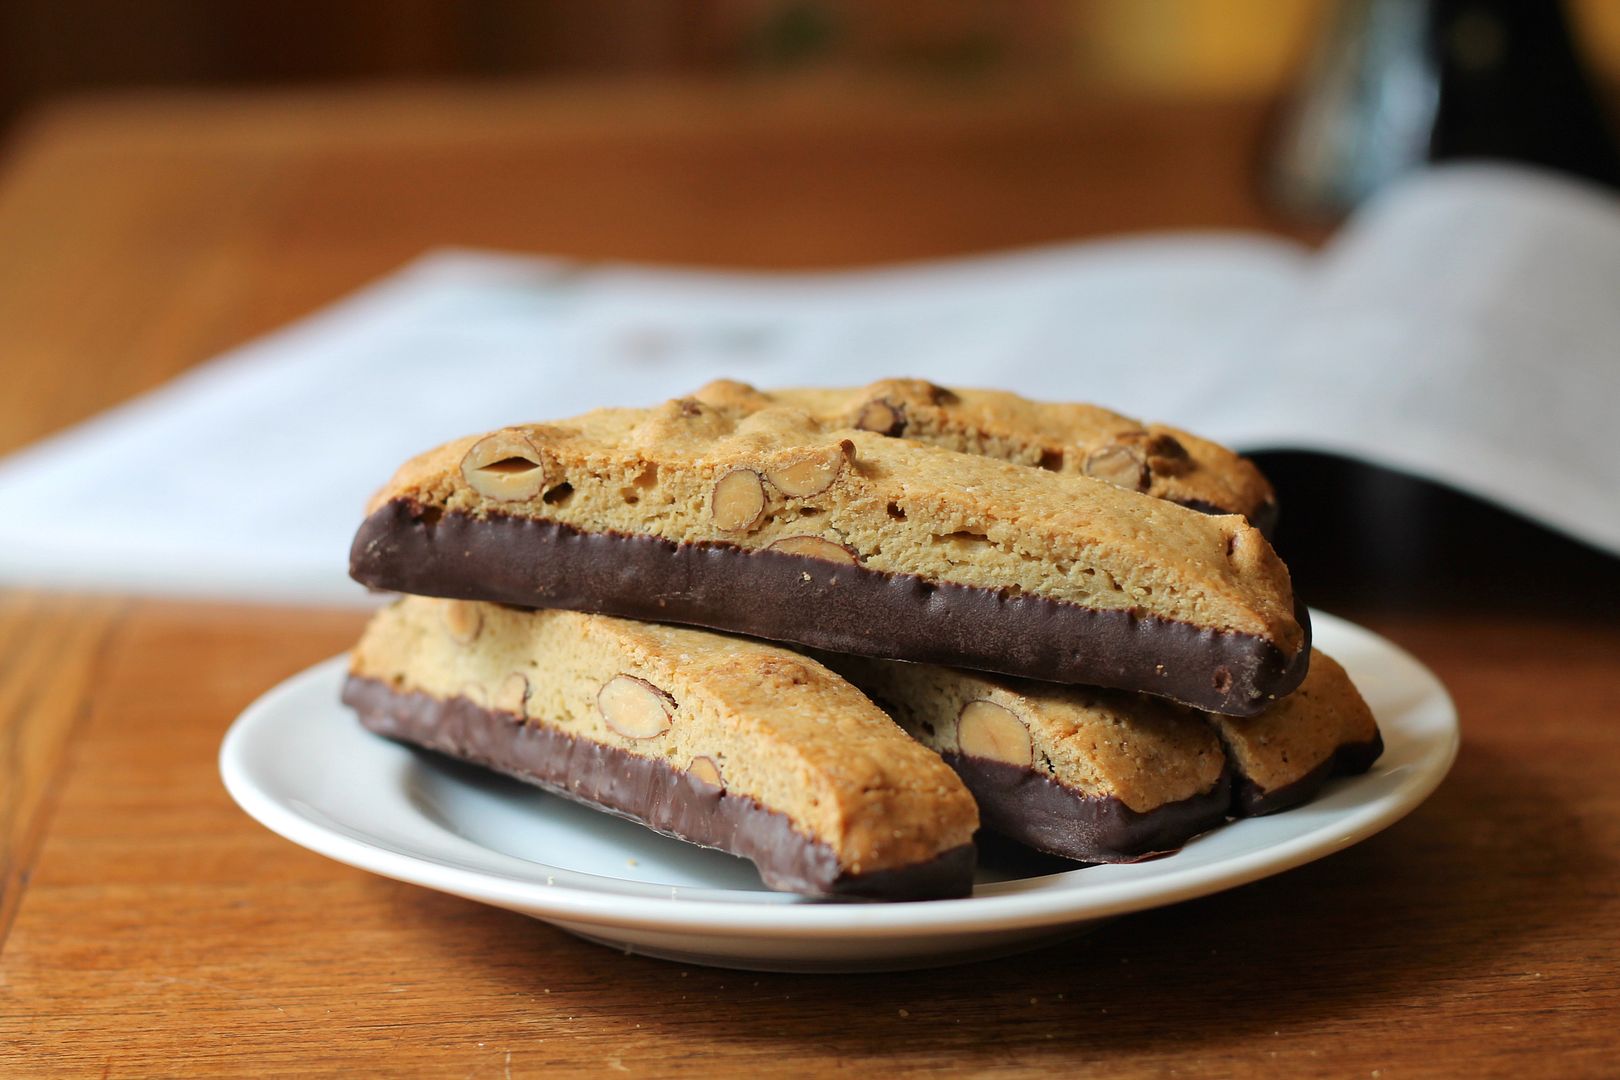
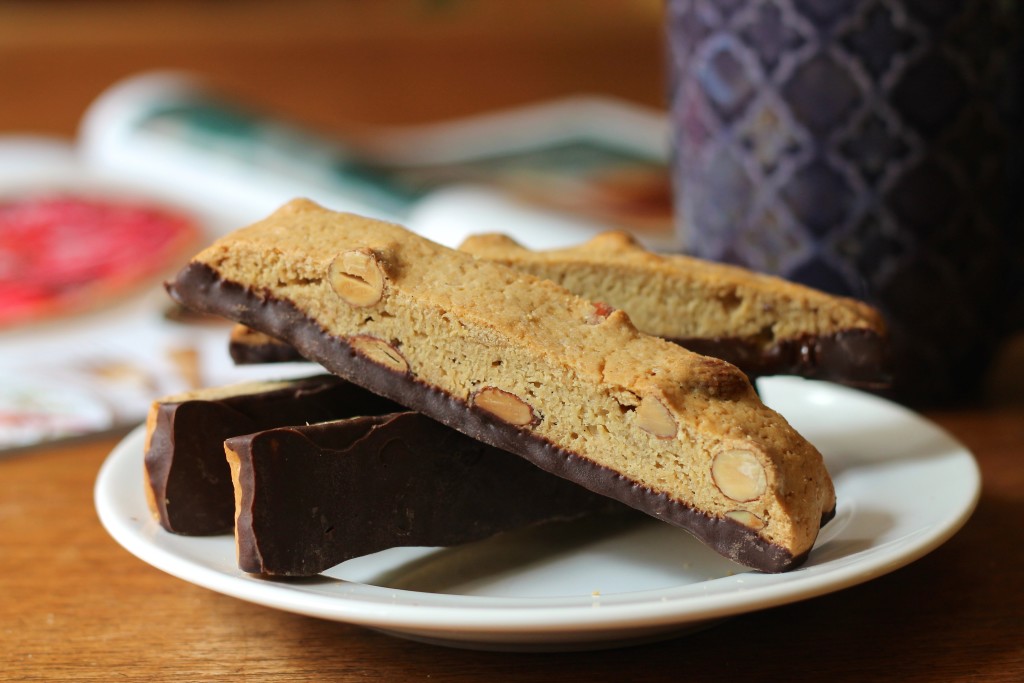
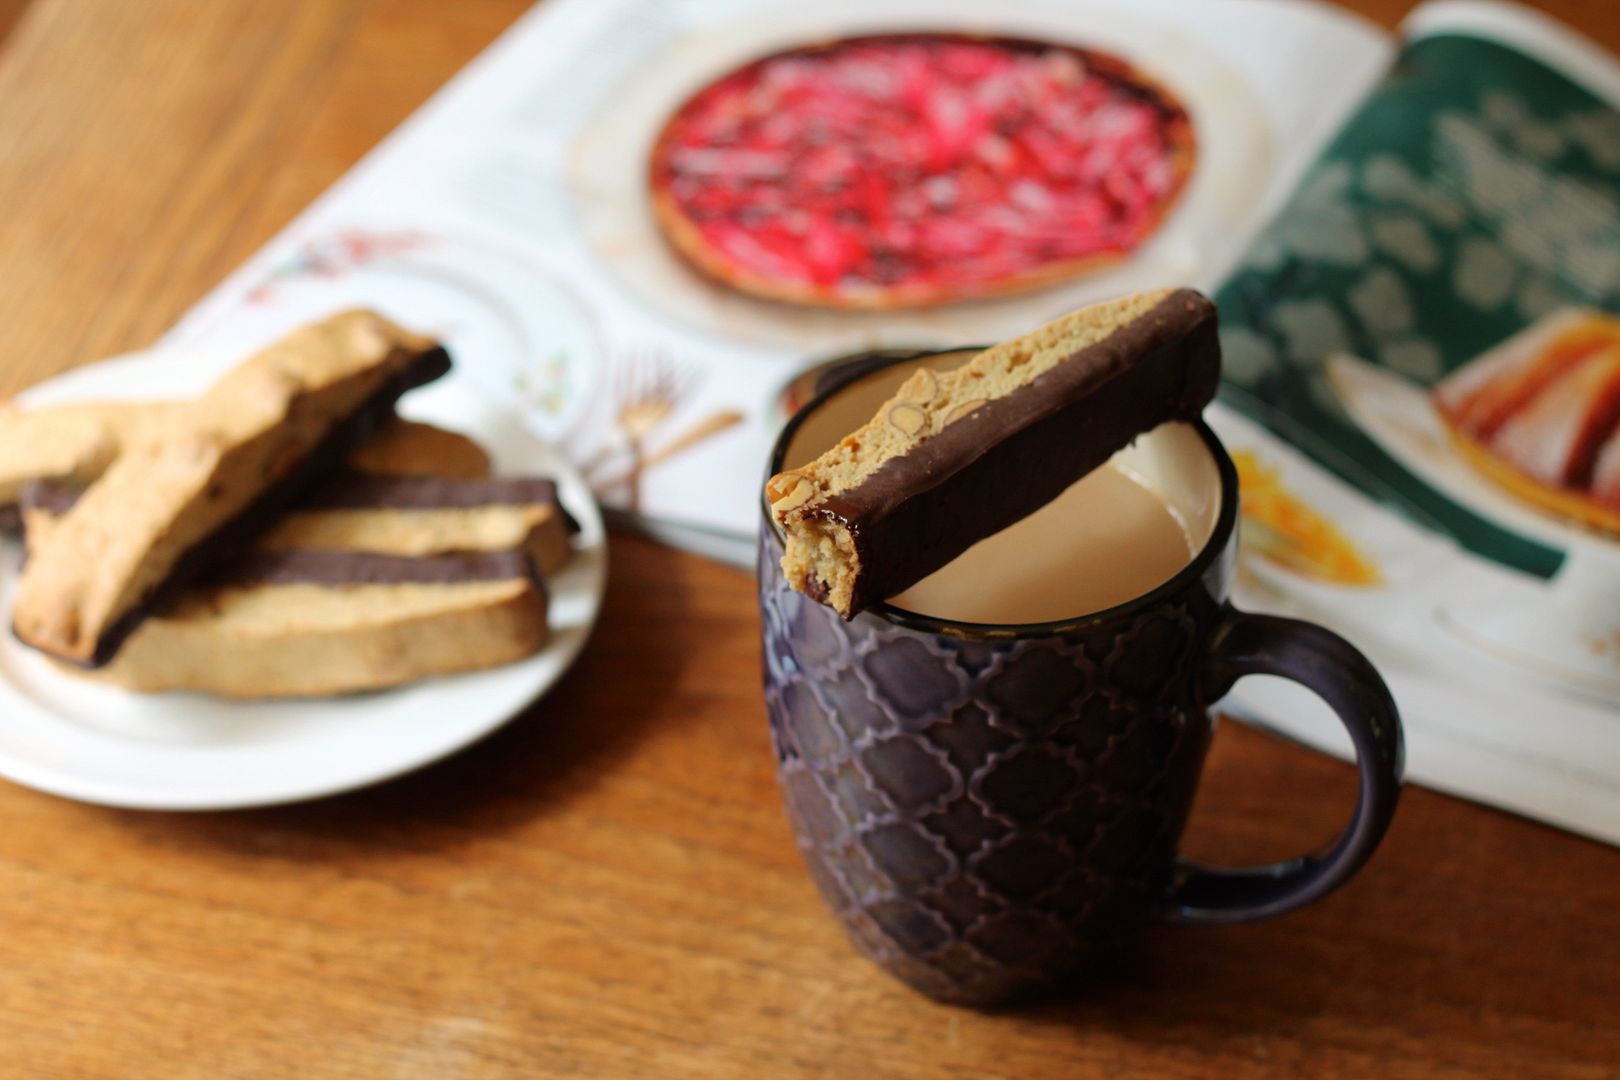
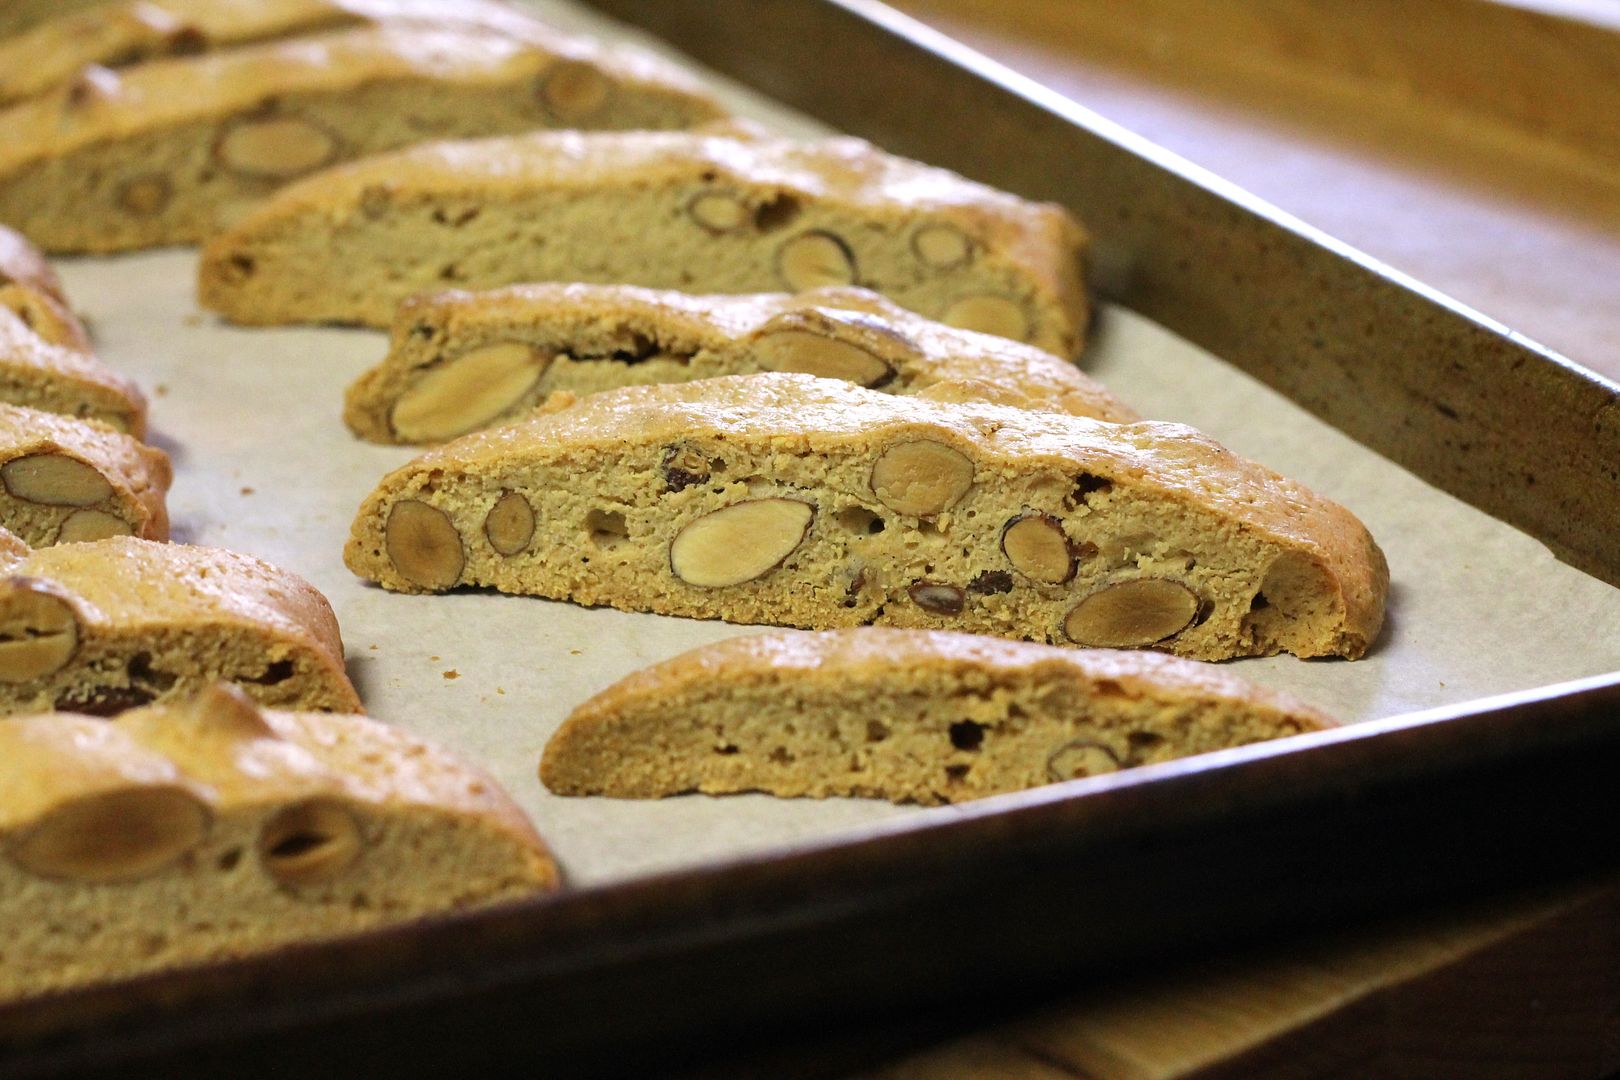
Last time I made sourdough biscotti, the dough was so stiff that my mixer couldn’t actually knead it. This time, it behaved much differently – ie, the way it was supposed to – and so the sense of impracticality was much lessened. I added almonds and vanilla to the dough, because I have learned that vanilla plus the “old dough” flavour of sourdough in any sweet baked good leads to a wonderful result, not to mention an incredible aroma coming out of your oven while it bakes: if there are bakeries in Heaven (there MUST be, right?!), this is how they smell. The resulting biscotti is fully worth the novelty “gimmick” factor of using sourdough. It definitely requires being dunked in your beverage of choice, as it is a bit harder than regular biscotti, but I can tell you that it is truly excellent with a cup of Earl Grey tea while perusing the latest Martha Stewart magazine. 
Chocolate-Dipped Vanilla-Almond Sourdough Biscotti
Adapted from Wild Yeast. Makes about 16 biscotti (biscotto?).
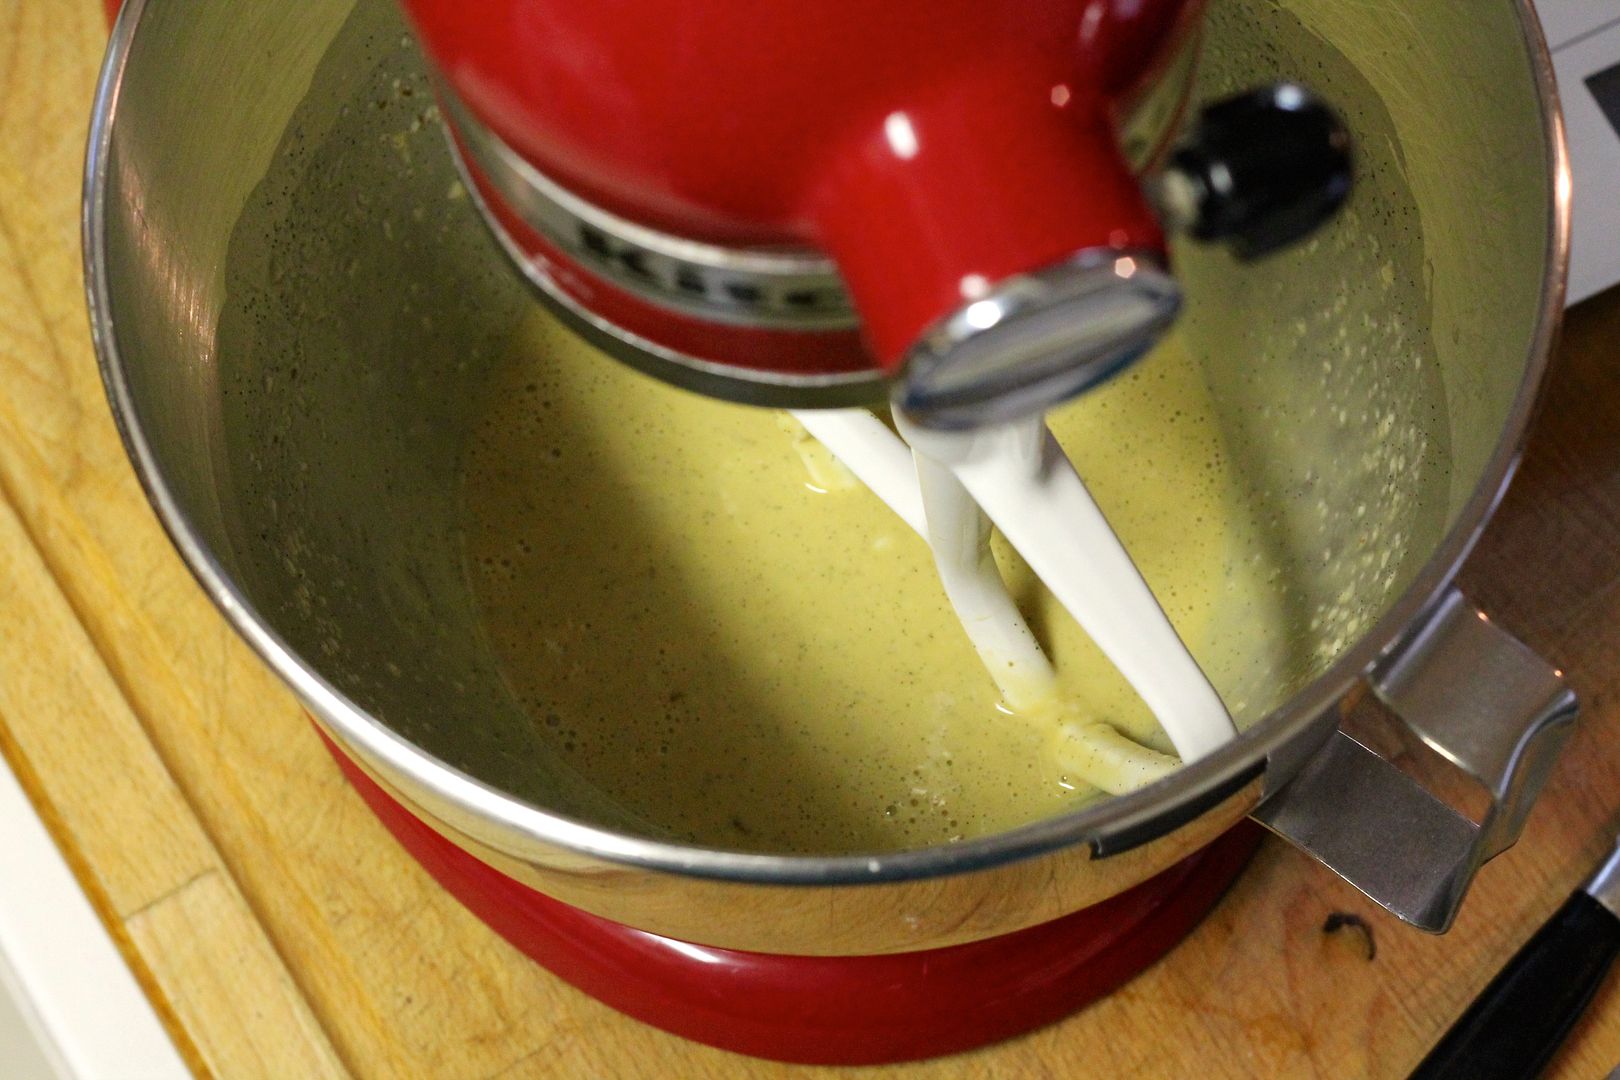
Preheat the oven to 350˚F (325˚F convection). In the bowl of an electric mixer, combine:
2 eggs, lightly beaten
2 1/4 tsp vanilla extract
seeds scraped from 1 vanilla bean
135 g 50% hydration “stiff” starter, broken into little pieces (see method after recipe for converting starter hydration rate)
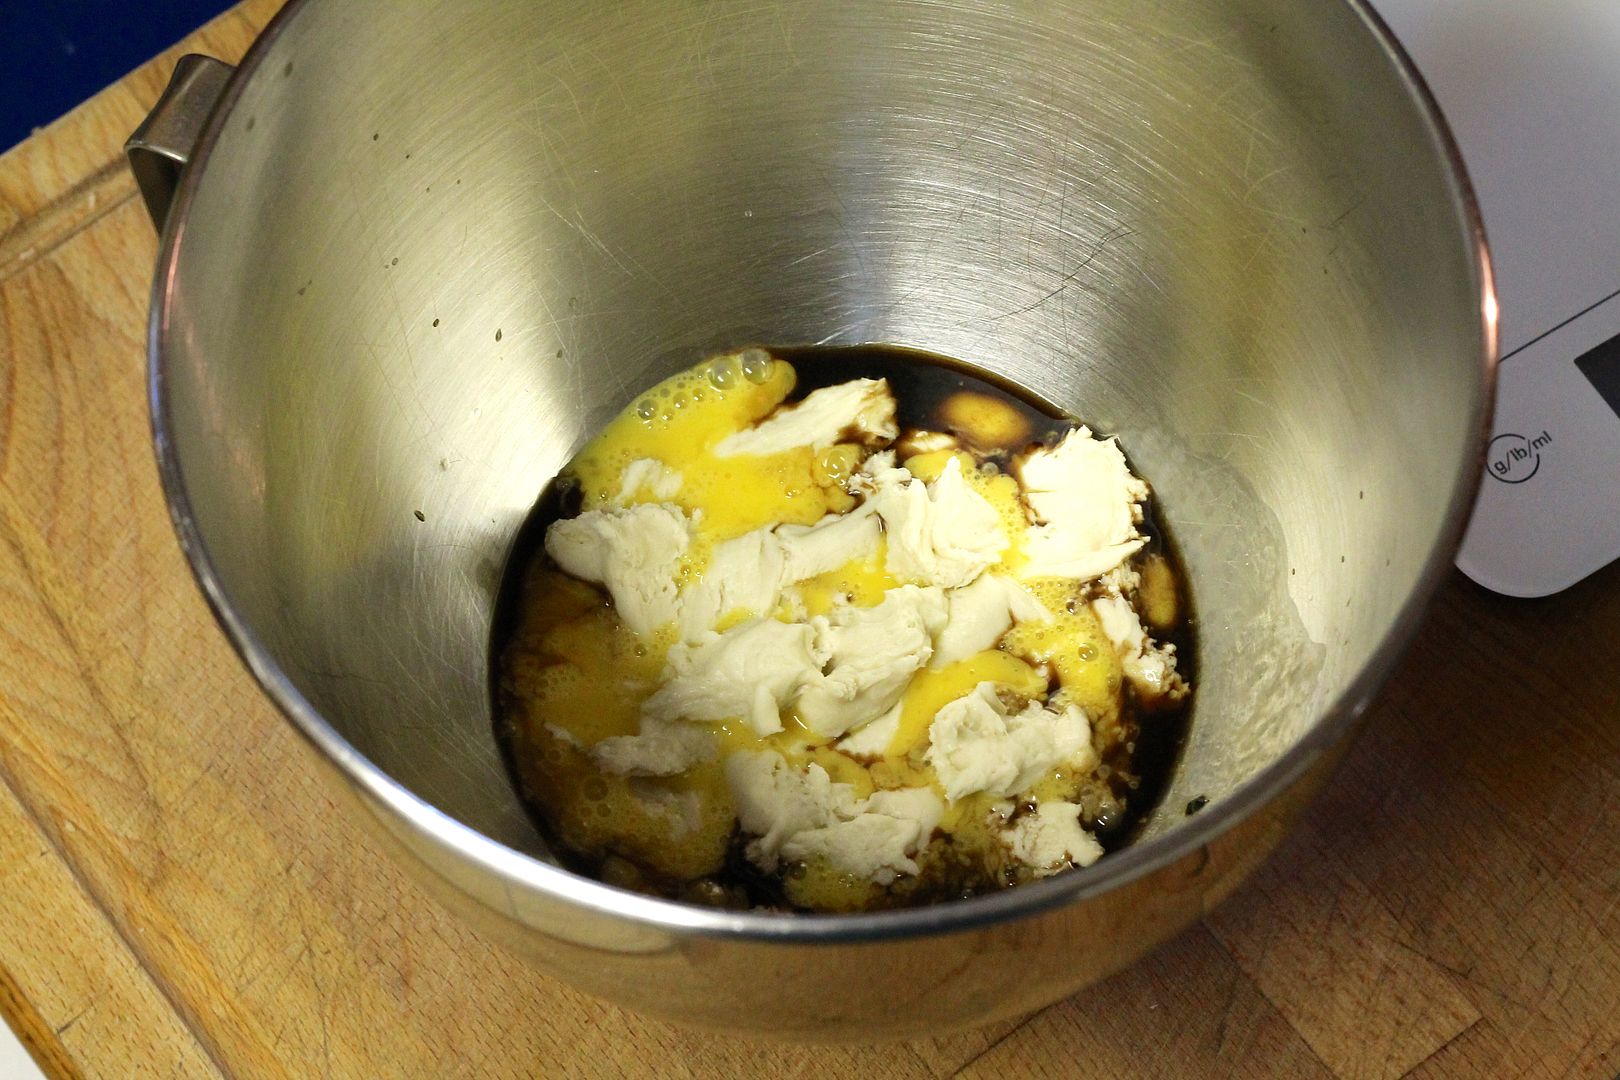
With the paddle attachment, stir the mixture until the starter softens and mostly incorporates into the egg (it doesn’t have to be completely smooth).
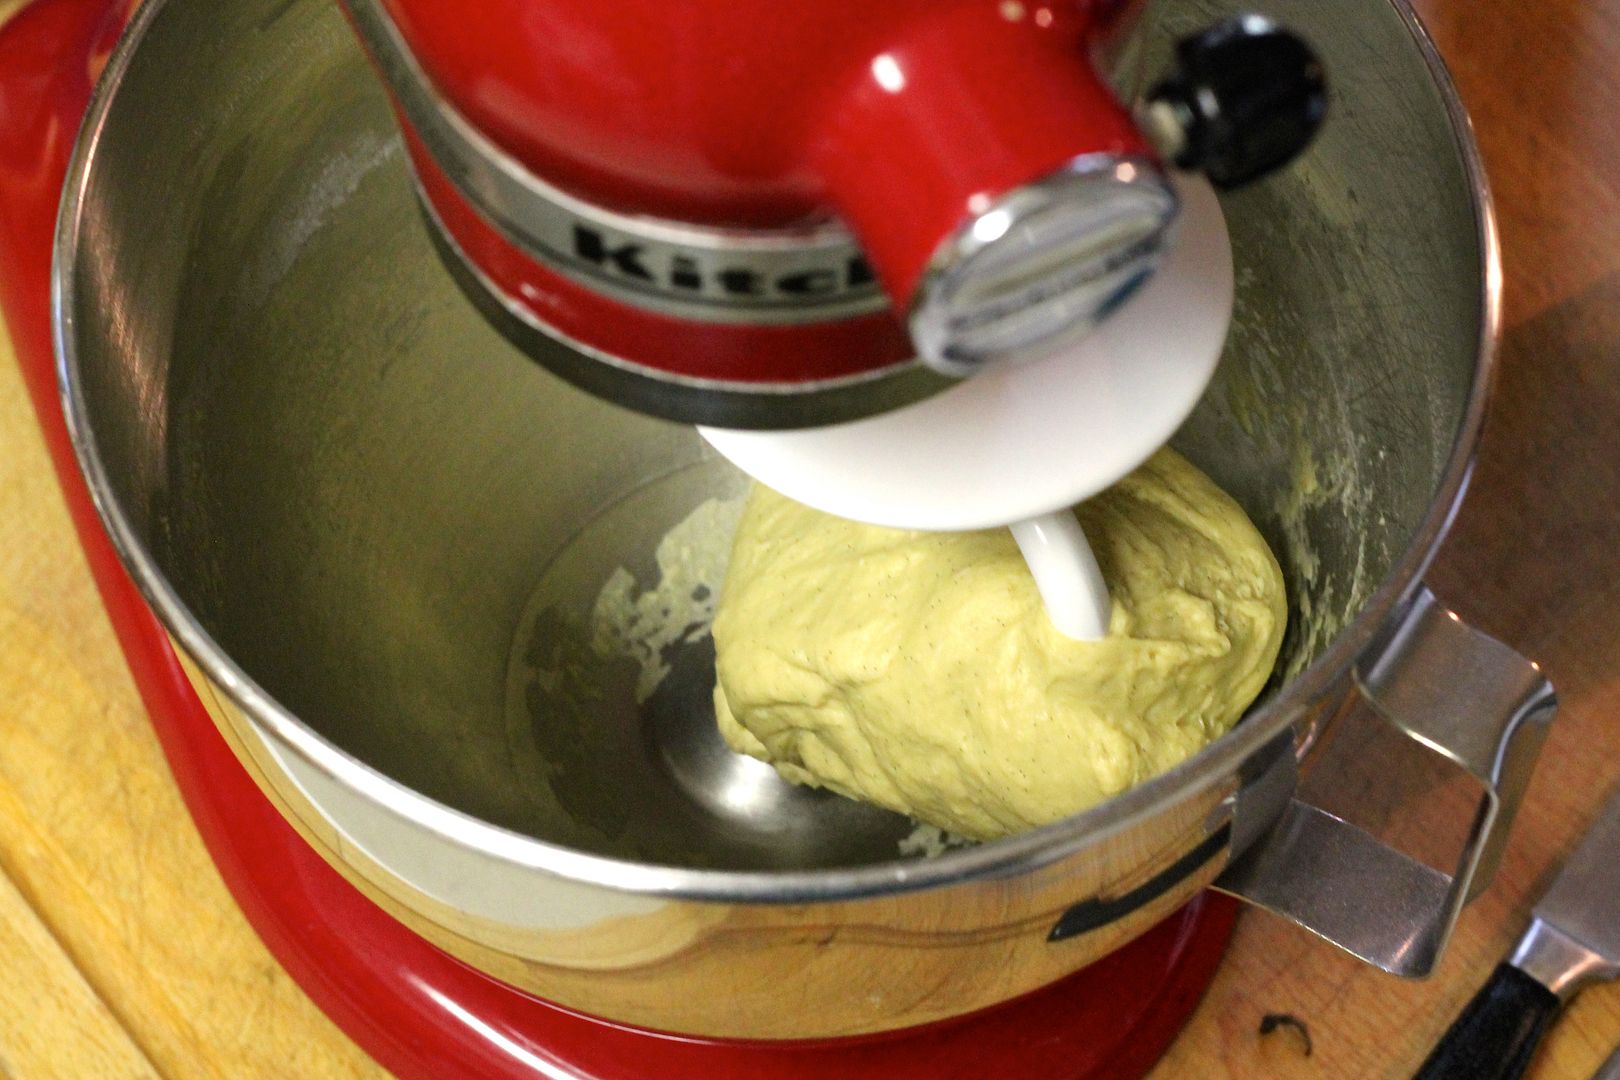
Add:
180 g all purpose flour
3/4 tsp salt
Mix to form a stiff dough, the switch to the dough hook and knead several on medium-low speed until the dough is firm but elastic.
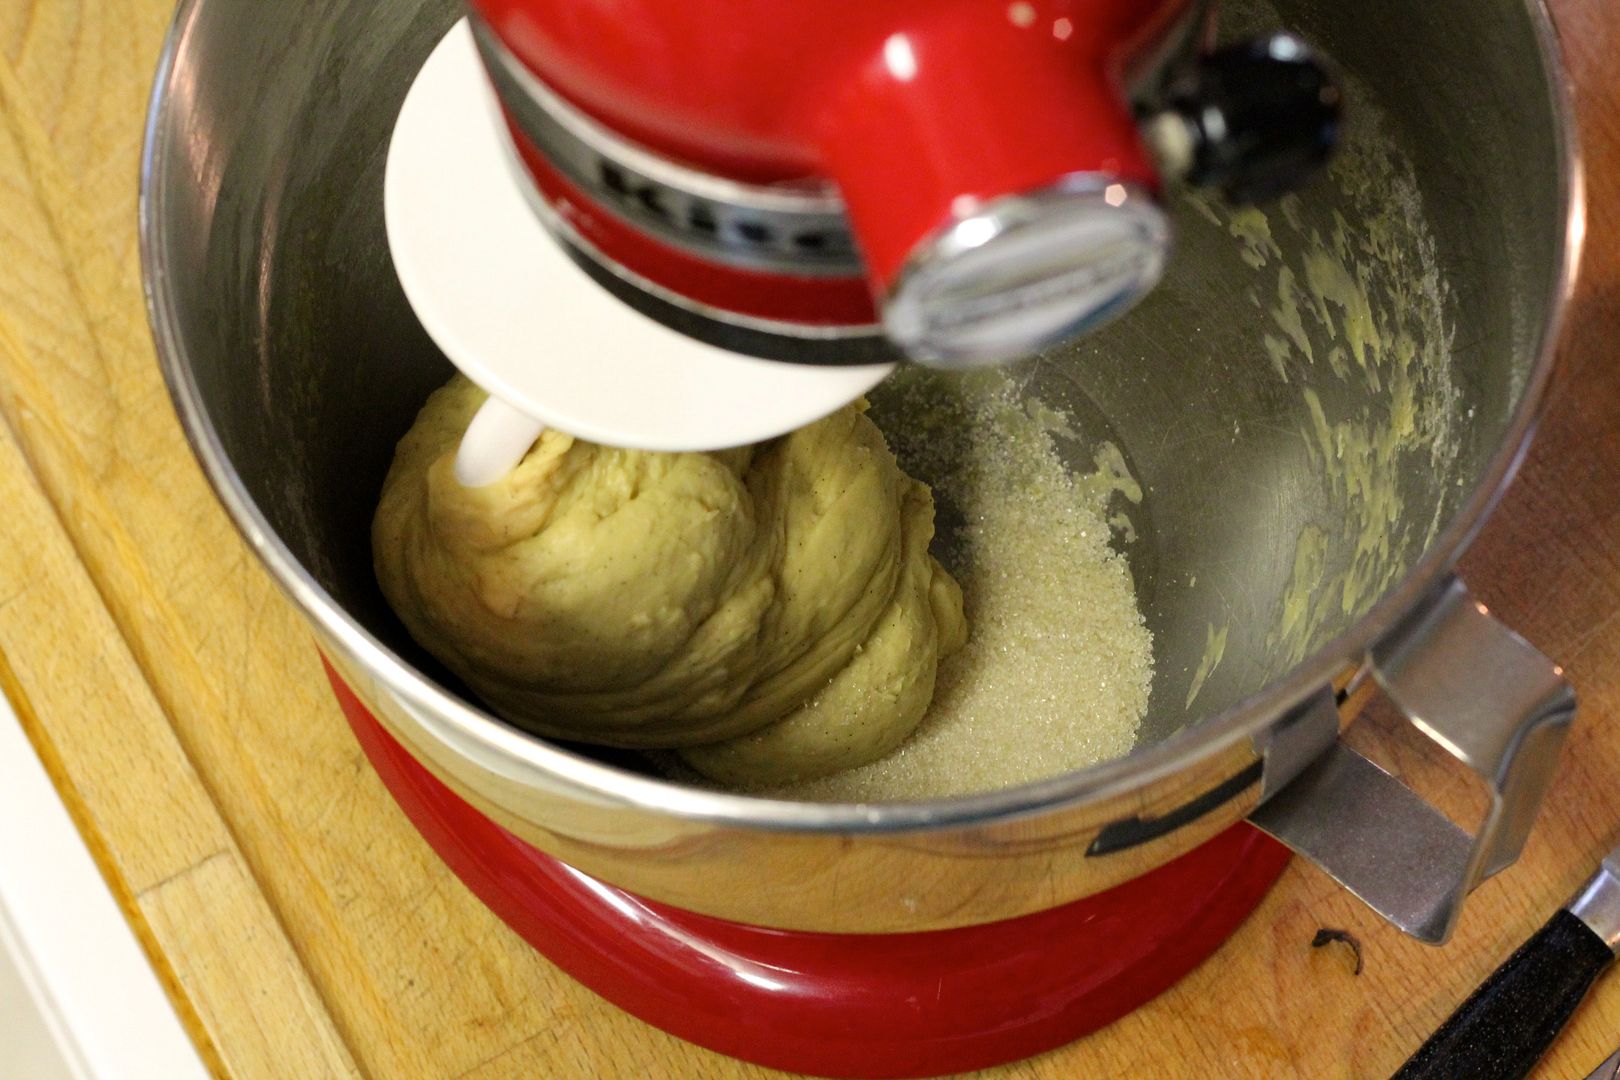
Slowly add in 150 g granulated sugar. It will seem like it’s not mixing in at first, but the dough will eventually start to slacken and loosen up to incorporate the sugar.
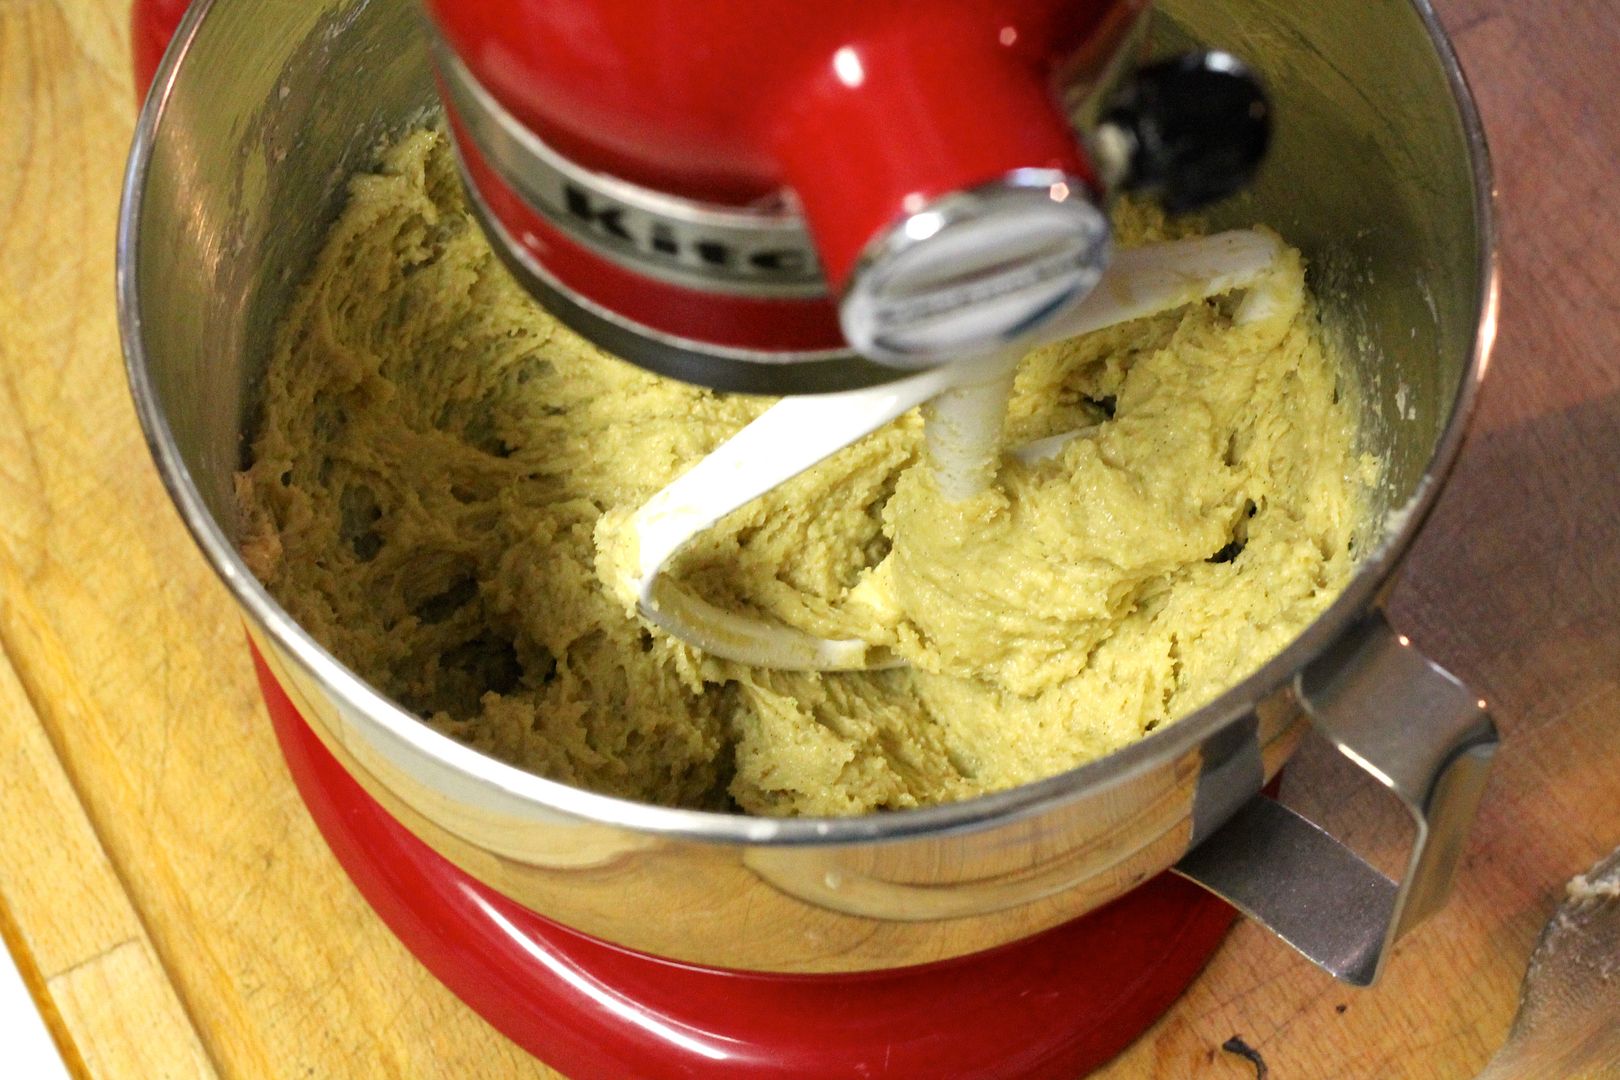
Once it’s all mixed in, switch back to the paddle attachment and beat in 57 g soft unsalted butter. At this point the dough will resemble slightly stretchy cookie dough.
With a wooden spoon, mix in 125 g whole toasted almonds.
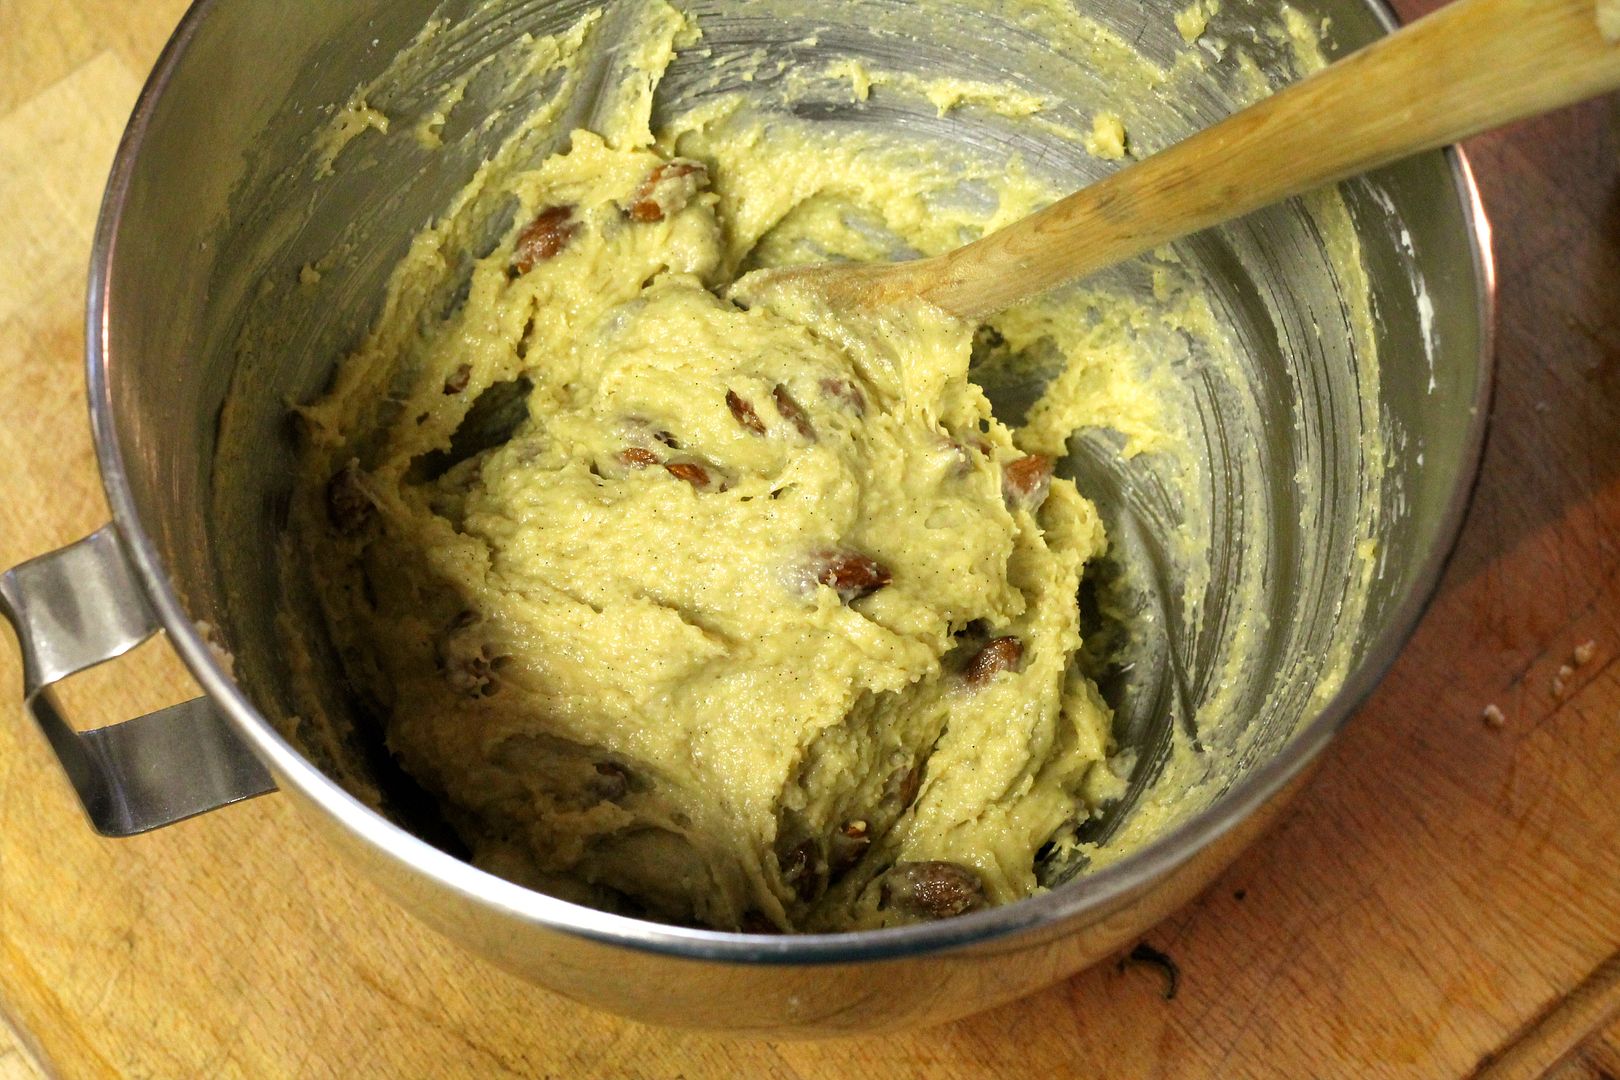
Line a cookie sheet with parchment paper and dollop the biscotti dough in a line on the paper (a plastic dough scraper is great for this). Smooth the dough out into an even log, about 2-3 inches wide (it will spread in the oven).
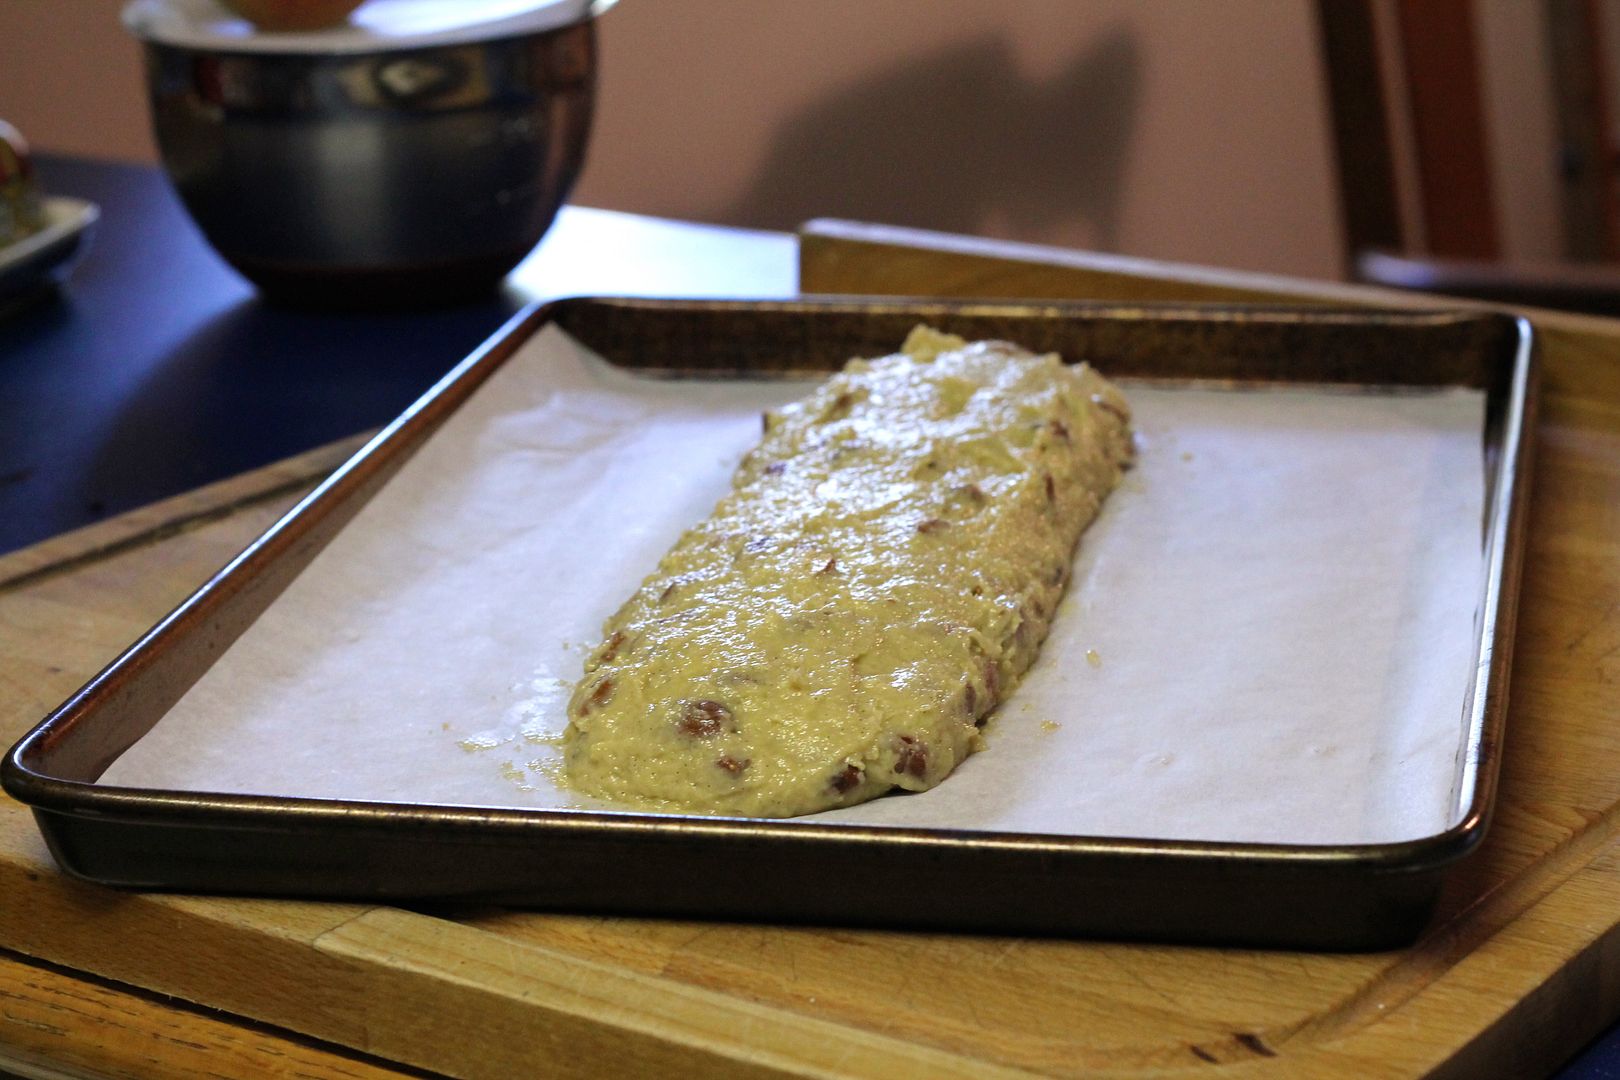
Place it in the 350˚F (325˚F convection) oven and bake for 30-35 minutes, until lightly golden and firm but not hard. Remove from the oven and turn it down to 275˚F (250˚F convection).
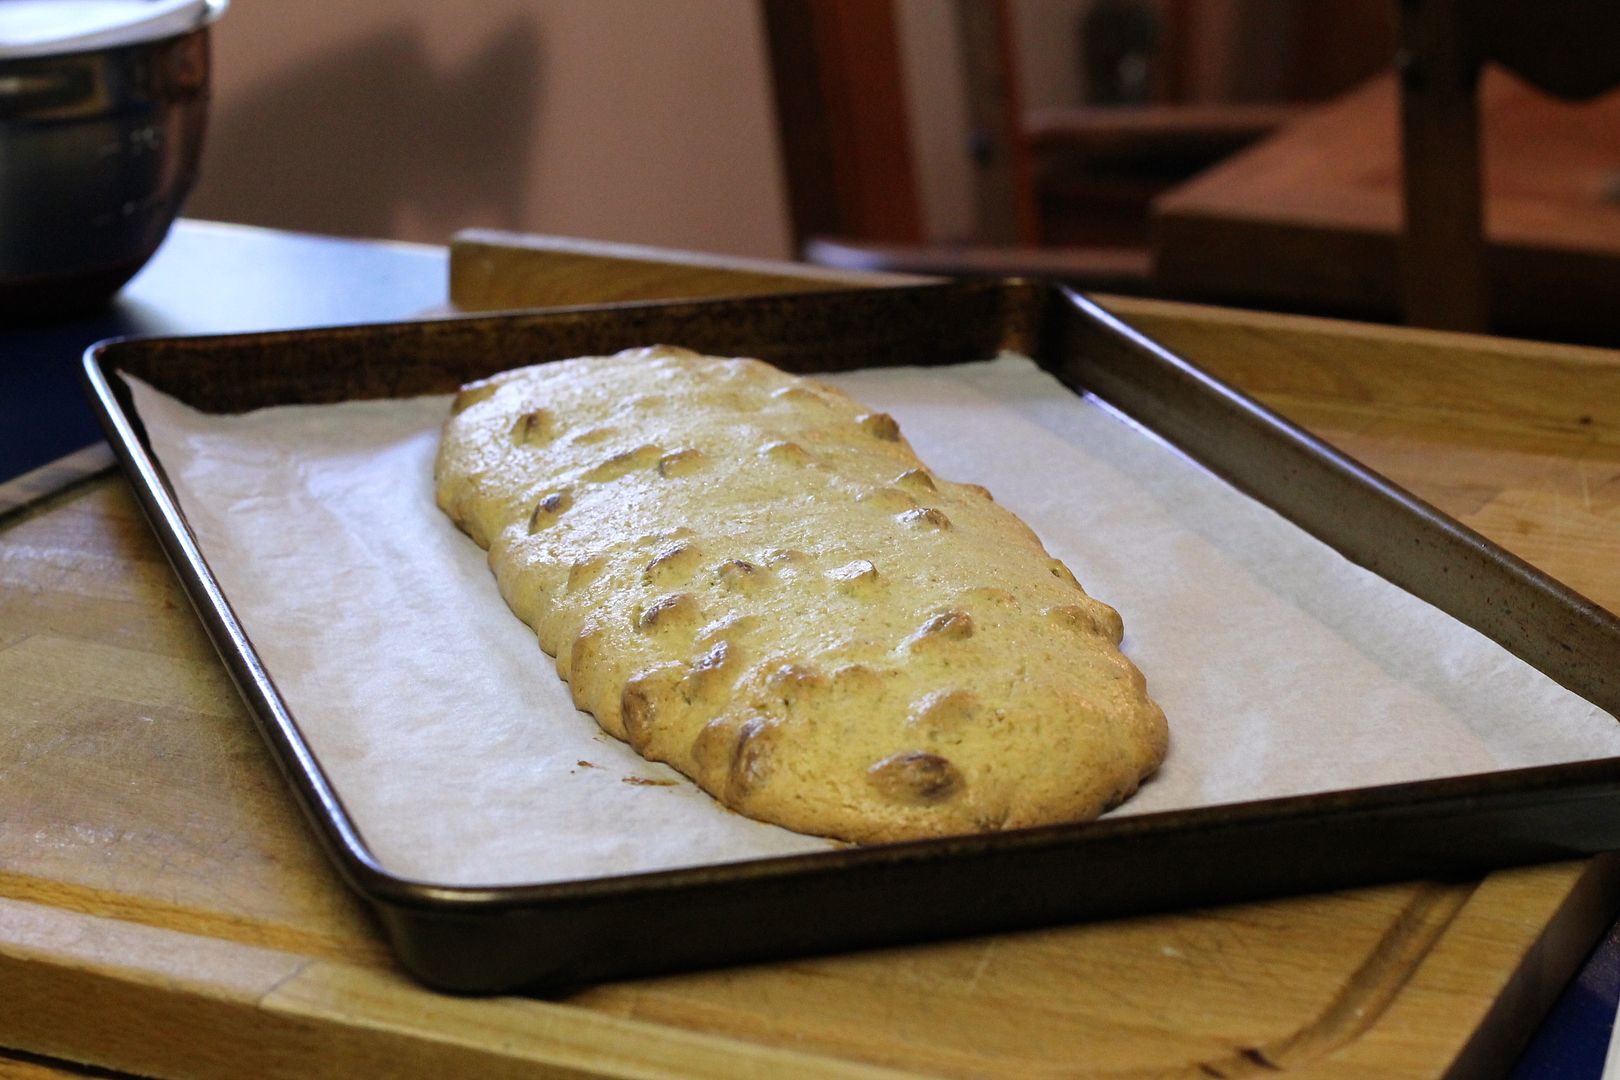
Let cool for about 10 minutes (until you can touch it without burning yourself) and transfer the baked dough to a cutting board. With a serrated knife, slice the dough into 3/4 inch thick slices.
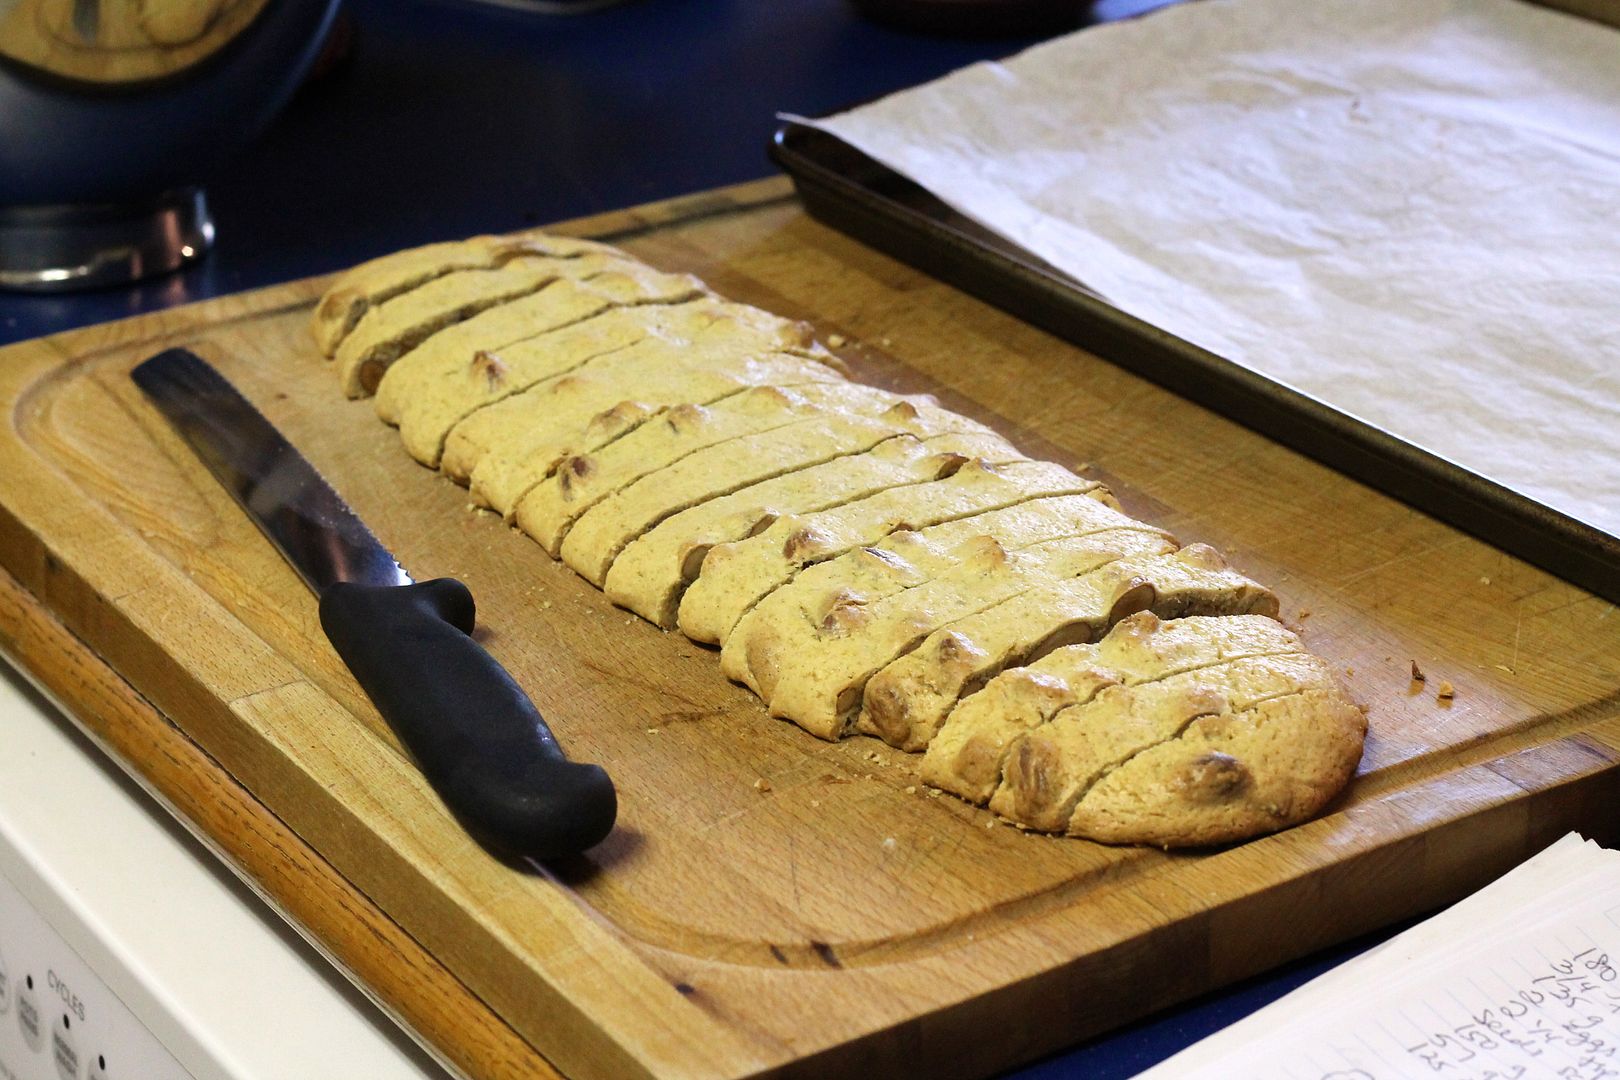
Stand them back up on the baking sheet, evenly spaced, and bake at 275˚F (250˚F convection) for 40-50 minutes, until dry and evenly light golden all over.
Let cool completely on a rack, then dip the bottom of each biscotti in 120 g melted chocolate. Place on waxed paper or parchment to set (put them in the fridge to speed it up).
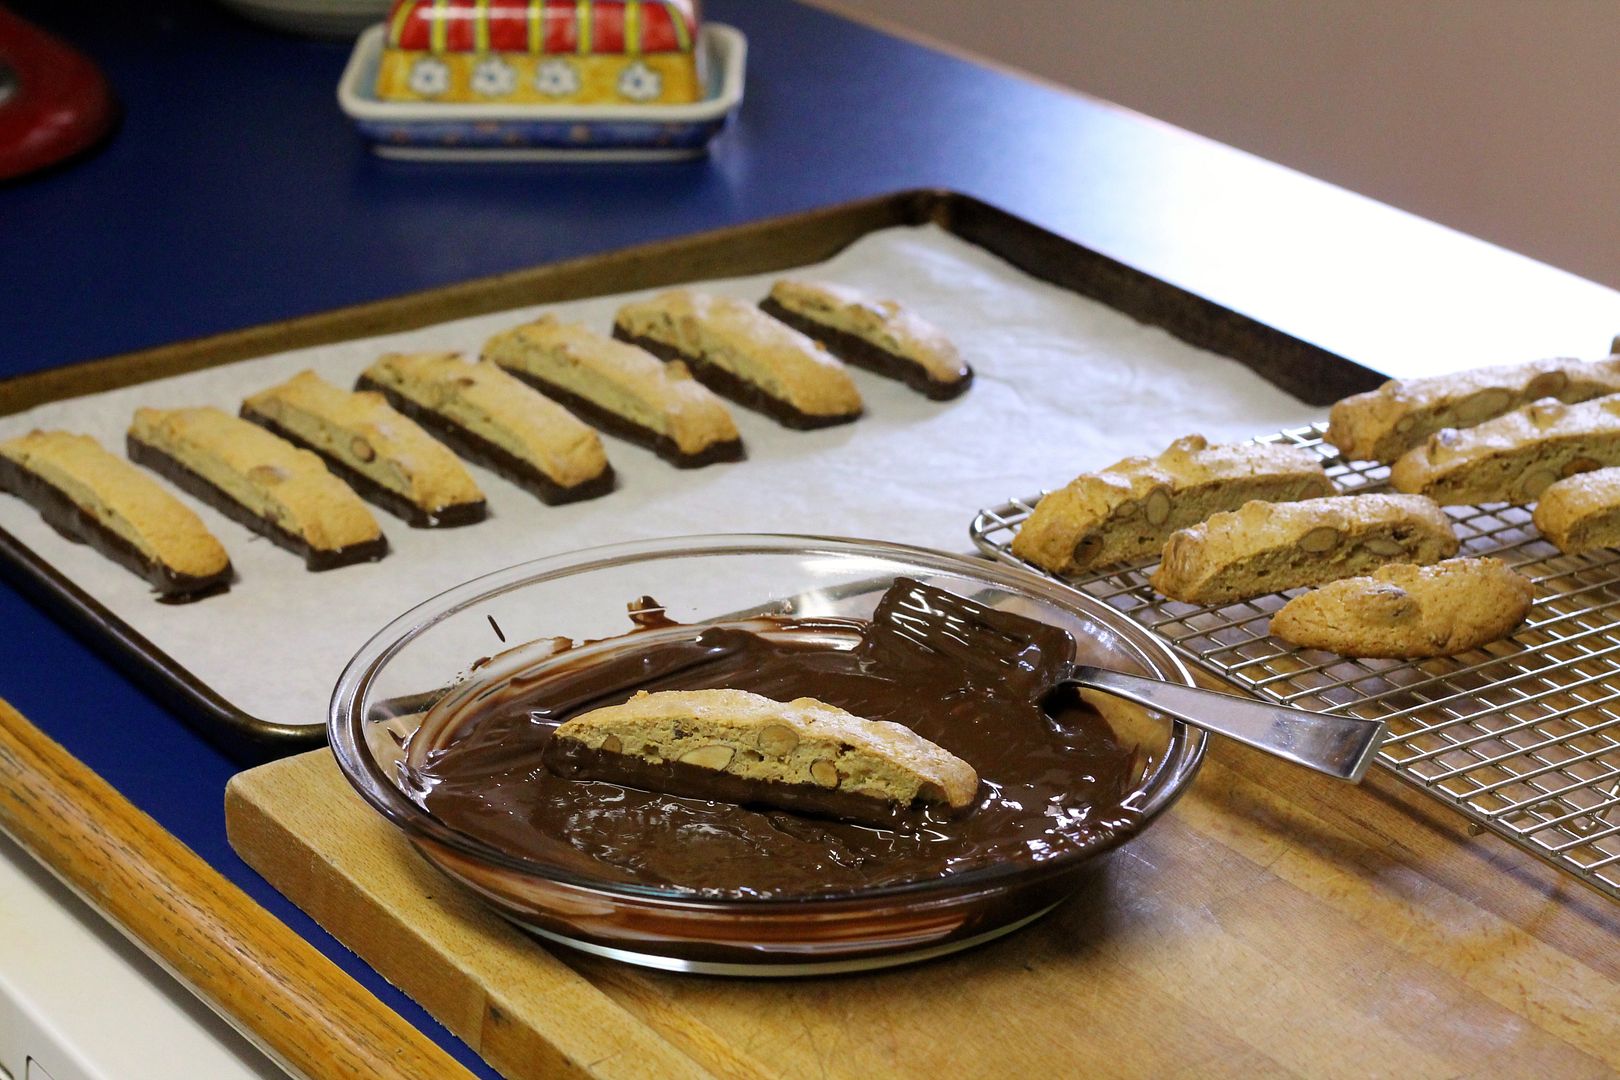
Store in an airtight container, and serve with a hot beverage (tea, coffee, hot chocolate) for dunking.
To convert your 100% hydration starter to a 50% hydration starter:
Adapted from the instructions by dmsnyder on The Fresh Loaf
First, find the amount of 50% hydration starter you want to end up with (ie, the amount required for the recipe; 135 g in this case) and calculate how much of that amount is flour vs water:
135 g @ 50% hydration = 2 parts flour + 1 part water = 45 g water + 90 g flour
Second, decide on the amount of 100% hydration starter you want to use to make it (can be a totally arbitrary amount – I chose 34 g because it is an even number) and calculate how much of it is flour vs water:
34 g @ 100% hydration = 1 part flour + 1 part water = 17 g water + 17 g flour
Third, find the difference between these amounts of flour and water – this is what you will feed your portion of 100% hydration starter (from step 2) to change its hydration to 50%:
Difference = 28 g water + 73 g flour
When you do this, you will understand why it is known as a “stiff” starter rather than a “liquid” starter: it is like a dough, and you will probably have to knead it to mix it. Once it’s mixed, cut an “X” in the top to give it room to expand, place it in a covered container, and let it do its thing until it has doubled in size. To maintain a 50% hydration starter, simply feed it with 1 part water and 2 parts flour: break the starter up into chunks and let it soften in the water first before mixing/kneading in the flour.
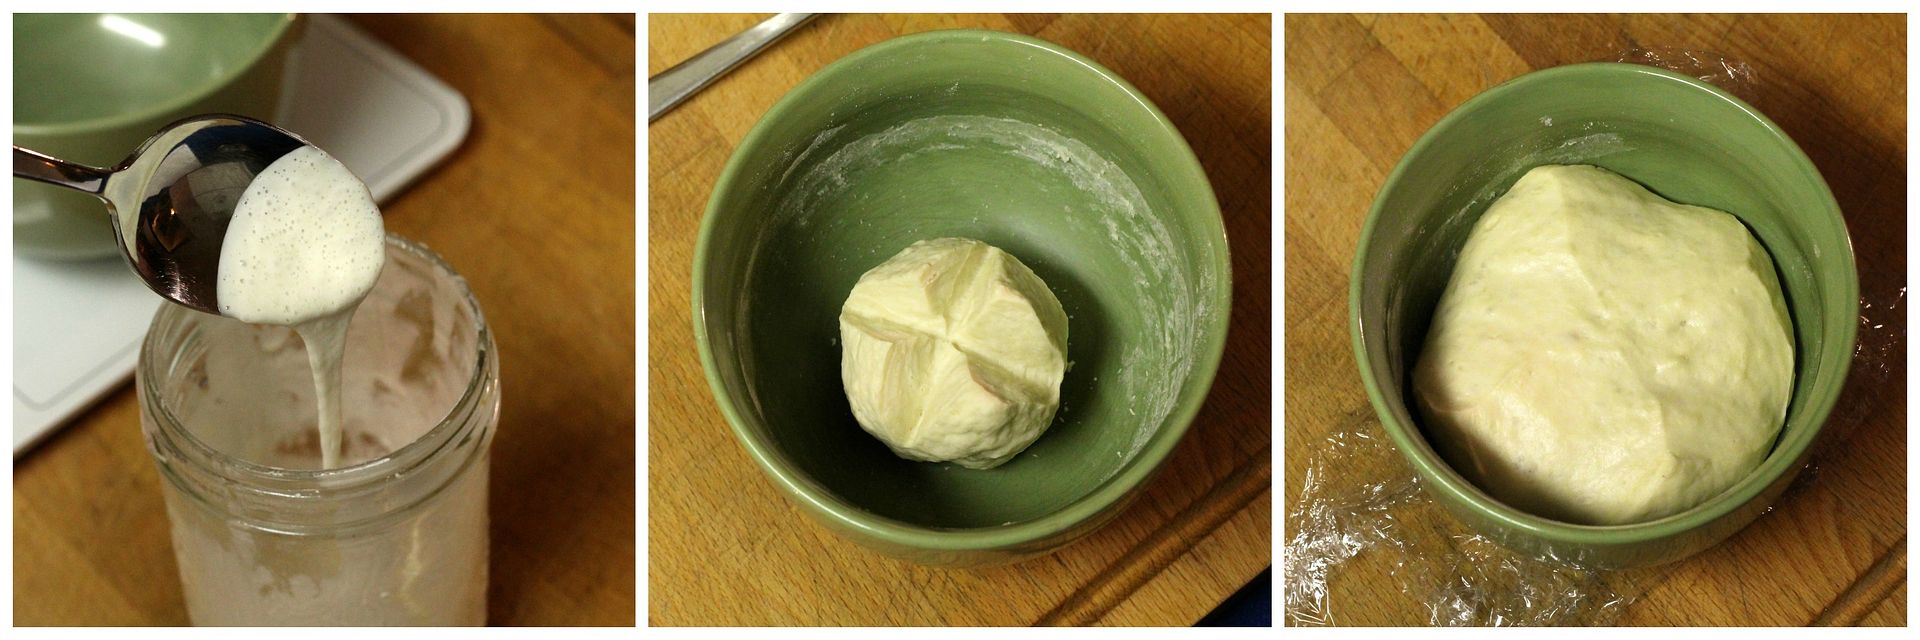
1) 100% hydration “liquid” starter; 2) 50% hydration “stiff” starter just after feeding; 3) stiff starter several hours later, ready to use


